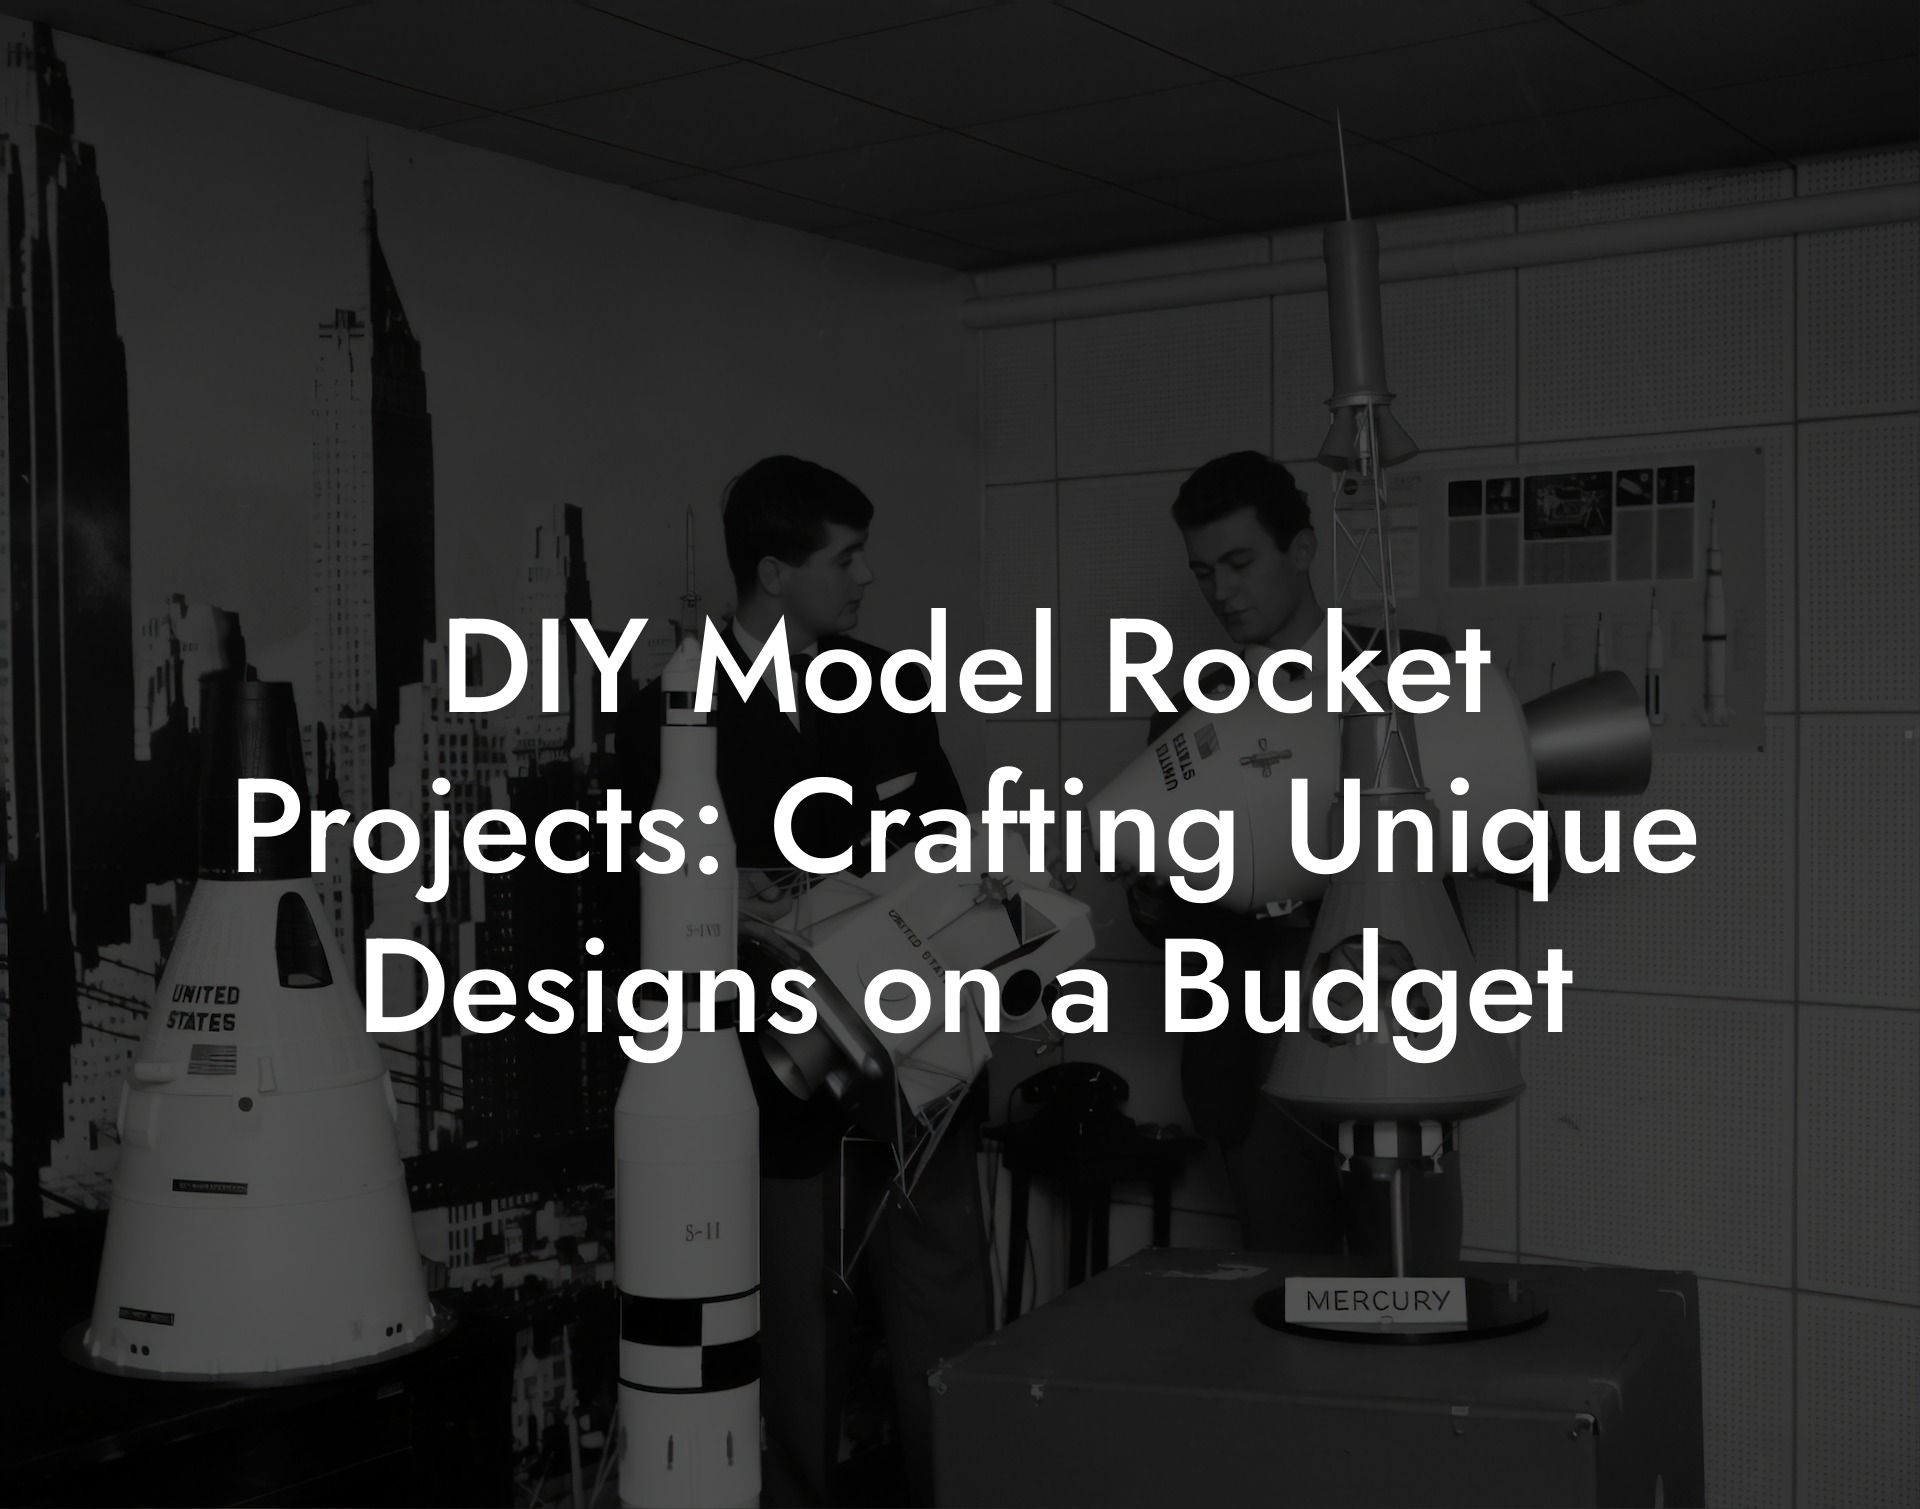
Welcome to "DIY Model Rocket Projects: Crafting Unique Designs on a Budget", your ultimate guide to turning affordable materials into soaring works of art. Whether you're a college student with a tight budget, a creative Gen-Z enthusiast, or a millennial looking to relive your childhood passion without breaking the bank, this guide will show you how to build, modify, and personalize your model rockets using cost-effective techniques and everyday materials. Get ready to explore clever hacks, step-by-step projects, and budget-friendly tips that empower you to craft unique rocket designs that fly high and reflect your individual style.
Quick Links to Useful Sections
- Introduction: Rocketry on a Shoestring
- Planning Your DIY Rocket Project
- Define Your Goals
- Create a Budget
- Sketch Your Design
- Materials: Low-Cost Options for High-Flying Rockets
- Common, Budget-Friendly Materials
- Advanced Yet Affordable Alternatives
- DIY Customization Techniques
- Structural Modifications
- Creative Painting and Finishing
- Integrating Digital Enhancements
- Step-by-Step DIY Model Rocket Project
- Step 1: Gather Your Materials and Tools
- Step 2: Plan and Sketch Your Design
- Step 3: Assemble the Base Rocket
- Step 4: Customize Structural Elements
- Step 5: Add a Personal Touch with Paint and Decals
- Step 6: Integrate Digital Components
- Step 7: Final Assembly and Pre-Launch Testing
- Maintenance and Post-Launch Customization
- DIY Model Rocket Projects FAQs
- Your Next Launch: Unleash Your Creativity and Build Your Dream Rocket
Introduction: Rocketry on a Shoestring
Not everyone has access to a state-of-the-art workshop or expensive aerospace-grade materials. The beauty of DIY model rocketry lies in its accessibility, transforming simple, inexpensive items into a high-flying masterpiece. In this guide, we celebrate creativity, resourcefulness, and innovation on a budget. You’ll learn how to repurpose common household items, select low-cost materials, and employ smart design strategies that maximize performance without maxing out your wallet.
Our mission is simple: show you that great rocketry doesn’t require a huge investment, just a bit of ingenuity, careful planning, and a passion for experimentation. So, grab your tool kit (or even your repurposed kitchen utensils), and let's launch into the world of affordable DIY model rockets.
Planning Your DIY Rocket Project
Every great project starts with a plan. Before you start cutting, gluing, or painting, take some time to brainstorm and sketch your ideas. Here’s how to get started:
Define Your Goals
Ask yourself: What do I want to achieve with this project? Are you looking to build a rocket for fun, to learn about aerodynamics, or to enter a local rocketry competition? Defining your goals helps determine the complexity of your design, the materials you need, and the level of customization required.
Looking For The Best Model Rocket Kits? You'll Love These:

Revell 03704 Apollo 11 Saturn V Rocket Model Kit
Revell’s Apollo 11 Saturn V Model Kit recreates the iconic NASA rocket in stunning 1:96 scale. Standing 1.14 meters tall, this 183‑piece plastic model features three detailed stages, launch platform, lunar module, astronaut figurine, and optional moon display plate, ideal for collectors and space enthusiasts worldwide.

Estes AVG Rocket Bulk Pack
Estes AVG Rocket Bulk Pack delivers twelve beginner‑level model rockets, four each of Alpha, Viking, and Generic kits, requiring minimal assembly with pre‑colored parts and self‑stick decals. For ages 10+, these rockets soar up to 1,600 feet, making this pack perfect for educational STEM classes, group launches.
Create a Budget
Determine how much you’re willing to spend on your project. A budget helps you prioritize which components to invest in and which materials can be repurposed. Remember, creativity thrives under constraints, use your budget as a springboard for innovative solutions!
Sketch Your Design
Start with simple sketches. Even if you’re not an artist, a rough drawing can help you visualize the stages of your rocket, its fins, body tube, and recovery system. Consider using free design tools like Tinkercad or SketchUp if you want to experiment with digital modeling.
Materials: Low-Cost Options for High-Flying Rockets
The materials you choose can make or break your project, both in terms of performance and budget. Fortunately, there are plenty of affordable options that still deliver great results.
Common, Budget-Friendly Materials
Balsa Wood: Lightweight, easy to work with, and inexpensive, balsa wood is a favorite among beginners for constructing body tubes and fins.
Cardboard: Perfect for initial prototypes or educational projects, cardboard is versatile and widely available. Use it for structural elements or even as a base for painting experiments.
Plastic Bottles: Recycle empty plastic bottles to create body tubes or payload compartments. With a little creativity, these everyday items can be transformed into essential rocket components.
Advanced Yet Affordable Alternatives
For those who want to step up their game without overspending:
- Foam Board: Ideal for crafting lightweight fins and intricate details.
- Recycled Aluminum: Use aluminum cans to create small, durable engine casings or decorative elements.
- Budget Composite Materials: Look for off-cuts or remnants of fiberglass panels available at local hardware stores or online marketplaces.
These materials prove that high performance doesn’t have to come with a high price tag.
DIY Customization Techniques
The magic of DIY model rocketry is in making your rocket uniquely yours. Here are some techniques to customize your rocket on a budget:
Structural Modifications
Enhance your rocket’s performance by adjusting the design. You can:
- Modify Fin Shapes: Experiment with different fin designs to improve stability and reduce drag. Use balsa wood or foam board to cut out new fin shapes and sand them to a smooth finish.
- Add Staging: If you’re feeling ambitious, convert a single-stage rocket into a multi-stage design. This may involve creating inter-stage connectors from recycled materials like cardboard tubes or PVC pipes.
Creative Painting and Finishing
A custom paint job not only makes your rocket stand out but can also improve its aerodynamics. Use:
- Airbrush Techniques: While airbrush kits can be an investment, you can often rent them or use DIY setups to achieve smooth, gradient finishes.
- Decals and Stickers: Customize with printed decals that add a personal touch without the need for intricate painting.
- Hand-Painting: If you prefer a hands-on approach, use high-quality acrylic paints and a fine brush to add details.
Integrating Digital Enhancements
Enhance functionality with digital components:
- Telemetry Modules: Affordable microcontrollers like Arduino or Raspberry Pi can be integrated to track altitude, speed, and flight time.
- LED Lighting: Add a futuristic glow to your rocket with LED strips or small light modules, great for night launches and adding visual flair.
- Onboard Cameras: While a bit more advanced, budget-friendly mini cameras are available to capture your rocket’s journey from launch to landing.
Combining these creative techniques allows you to customize both the performance and the aesthetics of your rocket, making each build a true reflection of your personality.
Step-by-Step DIY Model Rocket Project
Ready to build your own unique rocket on a budget? Follow these step-by-step instructions for a complete DIY project.
Step 1: Gather Your Materials and Tools
Assemble all your materials: a rocket kit (or components like a cardboard tube, balsa wood for fins, and recycled plastic for the body), adhesives (PVA or epoxy), paints, and any digital components you wish to include. Make sure you have your precision cutting tools, measuring tape, and safety gear ready.
Step 2: Plan and Sketch Your Design
Take a few minutes to brainstorm your modifications. Sketch your rocket, marking where you plan to change fin shapes, add extra stages, or integrate electronics. This planning phase helps ensure you stay within budget while achieving your design goals.
Step 3: Assemble the Base Rocket
Follow the basic assembly instructions from your kit or blueprint. Focus on ensuring that the main body, fins, and engine mount are securely attached. Don’t rush this step, accuracy here is crucial for overall performance.
Step 4: Customize Structural Elements
Begin your modifications by cutting new fins from balsa wood or foam board. Sand them smooth and attach them using your chosen adhesive. If you’re adding a second stage, create inter-stage connectors using recycled PVC pipes or cardboard tubes.
Step 5: Add a Personal Touch with Paint and Decals
Once the structural modifications are complete, apply a base coat of primer and then paint your rocket. Experiment with colors, gradients, or even custom graphics. Allow the paint to dry thoroughly before applying decals or additional layers.
Step 6: Integrate Digital Components
If you’re adding telemetry, LED lighting, or an onboard camera, carefully mount these components in positions that don’t interfere with the rocket’s balance. Secure all wiring and test each electronic module before final assembly.
Step 7: Final Assembly and Pre-Launch Testing
Reassemble your rocket, ensuring that all modifications are securely in place. Conduct a thorough pre-launch check, test the stability, verify the electronics, and perform a small-scale test launch if possible. Document any issues and refine your design accordingly.
Following these steps will result in a custom rocket that’s not only uniquely yours but also optimized for performance on a budget.
Maintenance and Post-Launch Customization
Customizing your rocket doesn’t end once it’s built. After each launch, inspect your rocket for any wear or damage and note any areas for further improvement. Regular maintenance, including cleaning and touch-up painting, can extend the life of your rocket and keep it performing at its best.
Use your launch data and personal observations to make iterative improvements, refining structural components, enhancing the paint finish, or updating digital integrations. Each launch is an opportunity to learn and upgrade your design.
DIY Model Rocket Projects FAQs
Here are some frequently asked questions to help guide your DIY and customization journey:
1. What is the best rocket kit for beginners who want to customize?
Choose a kit that has a simple, modular design with easily accessible components. Kits with clear instructions and a proven track record in DIY communities are ideal.
2. How can I keep my project affordable?
Look for recycled or repurposed materials, buy in bulk, and take advantage of community workshops and online tutorials that offer budget-friendly techniques.
3. What are the most effective customization techniques for performance?
Focus on optimizing fin design, reducing overall weight with advanced yet affordable materials, and fine-tuning the rocket’s aerodynamics through precise modifications.
4. How do I ensure that my custom electronics don’t affect rocket balance?
Carefully plan the placement of digital components, use lightweight sensors and microcontrollers, and adjust the center of gravity with counterweights if necessary.
5. What painting methods produce a professional finish?
Airbrushing typically provides the smoothest finish, but high-quality acrylic paints applied with care can also yield professional results. Always use a primer as a base.
6. Can I modify the recovery system on a kit rocket?
Absolutely. Many DIY rocketeers customize their recovery systems by upgrading parachutes, streamers, or even creating hybrid solutions to better suit their rocket’s design.
7. How important is iterative testing?
Iterative testing is critical to refining your design. Each test launch provides data and feedback that can be used to make incremental improvements, ensuring both safety and enhanced performance.
8. What tools are essential for DIY customization?
Essential tools include precision cutting instruments, digital calipers, fine sandpaper, quality adhesives, and reliable paint supplies. For digital integration, a basic microcontroller kit and soldering equipment are also valuable.
9. How do I balance cost and quality in my project?
Prioritize spending on key performance areas, such as structural integrity and propulsion, while finding affordable alternatives for cosmetic enhancements. DIY rocketry is all about creativity, so leverage community resources and recycled materials when possible.
10. What resources can help me learn more about advanced DIY techniques?
Online forums, YouTube channels, local rocketry clubs, and specialized workshops are excellent places to learn advanced techniques and share ideas with other enthusiasts.
Your Next Launch: Unleash Your Creativity and Build Your Dream Rocket
DIY model rocketry is your chance to merge creativity with engineering, crafting a rocket that’s uniquely yours. With budget-friendly materials, innovative customization techniques, and a passion for experimentation, you can transform simple kits into spectacular flying machines.
Embrace every challenge as an opportunity to learn, iterate, and elevate your rocketry skills. The sky is not the limit, it’s your canvas. So get creative, build boldly, and let your next launch be a testament to your ingenuity and determination.
Looking For The Best Model Rocket Kits? You'll Love These:
Revell 03704 Apollo 11 Saturn V Rocket Model Kit
Revell’s Apollo 11 Saturn V Model Kit recreates the iconic NASA rocket in stunning 1:96 scale. Standing 1.14 meters tall, this 183‑piece plastic model features three detailed stages, launch platform, lunar module, astronaut figurine, and optional moon display plate, ideal for collectors and space enthusiasts worldwide.
Estes AVG Rocket Bulk Pack
Estes AVG Rocket Bulk Pack delivers twelve beginner‑level model rockets, four each of Alpha, Viking, and Generic kits, requiring minimal assembly with pre‑colored parts and self‑stick decals. For ages 10+, these rockets soar up to 1,600 feet, making this pack perfect for educational STEM classes, group launches.
Useful Interruption: Dive deeper into the world of Model Rockets with our most popular sections. If there is anything you think is missing or anything you would love for us to write about, just give us a shout.
- Getting Started & Basics With Model Rockets
- Model Rocket Design, Build & Customization
- Model Rocket Propulsion & Engine Technology
- Model Rocket Launch Techniques & Recovery
- Model Rocket Advanced Rocketry & Innovations
- Model Rocket DIY and Customization
- Model Rocket Equipment Reviews & Digital Tools
- Community, Competitions & Education
- Model Rocket Troubleshooting & FAQs
- Model Rocket Bonus/Seasonal & Niche Topics
A group of model rocket enthusiasts gathered at a field for their weekly launch event. Among them was Dave, a seasoned builder known for pushing the limits of hobby rocketry. This time, he had outdone himself.
“Ladies and gentlemen,” Dave announced, dramatically pulling a cloth off his latest creation, “I present to you: The Kraken!”
The crowd gasped. This wasn’t just a model rocket, it was a monster. The thing stood 8 feet tall, had six clustered engines, and was covered in enough duct tape to qualify as a classified aerospace project.
“Dave,” muttered Steve, the cautious safety officer, “Have you, uh… done the math on this?”
“Math?” Dave scoffed. “I built it in my garage at 3 a.m. with parts from eBay. This is an art piece, Steve.”
The countdown began.
5…
4…
3…
2…
1…
The engines ignited with a BOOM, and The Kraken shot up… kind of. It immediately did a violent barrel roll, narrowly missing the spectators before skyrocketing at an angle that could only be described as “legally questionable.”
The crowd collectively ducked as The Kraken flew straight over the adjacent cornfield, where Old Man Jenkins, the grumpiest farmer in town, was minding his business.
KABOOM!
The rocket disappeared behind the barn. A moment later, a flaming piece of Estes igniter wire landed at Steve’s feet. The silence was deafening.
And then, an unmistakable sound echoed across the field.
Jenkins’ shotgun being cocked.
“DAVE!!!” Steve shouted. “RUN.”
And that was the day Dave invented the first-ever biologically powered rocket booster: pure adrenaline.
To this day, nobody knows where The Kraken landed, but legend has it, it still haunts the skies, terrifying unsuspecting drones and low-flying birds.


